How Do I Apply Modern Applique Embroidery Designs Step by Step?
Ever spent twenty minutes carefully placing your applique fabric, started the machine, and watched the whole thing shift sideways before the takedown even finished?
It happens to almost everyone the first time — and the second time too, if nobody ever explained the actual sequence properly. Working with modern applique embroidery designs isn’t difficult once you understand what’s supposed to happen at each stage. The process is logical, it follows a clear order, and once you’ve done it two or three times it becomes second nature.
This guide walks through every step from setup to finished design so you know exactly what to do and when.
What You Need Before Starting Modern Applique Embroidery Designs
Before you touch the machine, get everything in place. Running out of stabilizer halfway through or realising your fabric isn’t pre-washed after you’ve already hooped it wastes time and sometimes ruins the project entirely.
Choosing the Right Fabric for Modern Applique Embroidery Designs
Cotton quilting fabric is the best starting point for anyone new to applique — it’s stable, easy to cut cleanly, and holds up well under satin stitch. Felt is another solid option, especially for raw edge designs, because it doesn’t fray at all. Stay away from stretchy or slippery fabrics until you’re confident with the process — they shift during stitching and create headaches that beginners don’t need. Pre-wash everything before you cut. Fabric that shrinks after the design is stitched is a project-ruining problem that’s completely avoidable.
Choosing the Right Stabilizer for Modern Applique Embroidery Designs
Stabilizer choice is where most applique problems actually start. Cut-away stabilizer is the right choice for stretchy base fabrics — it stays in the fabric permanently and prevents distortion. Tear-away works well for stable woven fabrics like cotton and linen. Wash-away is useful when you don’t want any stabilizer visible on the finished piece. Using the wrong stabilizer for your fabric weight is the single most common reason modern applique embroidery designs end up puckered, shifted, or uneven — so this decision matters more than most people realise when they’re starting out.
What Files and Software You Need for Modern Applique Embroidery Designs
Most modern applique embroidery designs are structured around multiple colour stops — the machine pauses at each one to give you time to place fabric, trim, or make adjustments before continuing. Read through the colour stop guide that comes with your design file before you start stitching. Understanding the sequence before you begin means you won’t be caught off guard mid-project wondering whether to stop the machine or let it keep going.
Step One — Setting Up Your Hoop for Modern Applique Embroidery Designs
-
How to Hoop the Base Fabric for Modern Applique Embroidery Designs
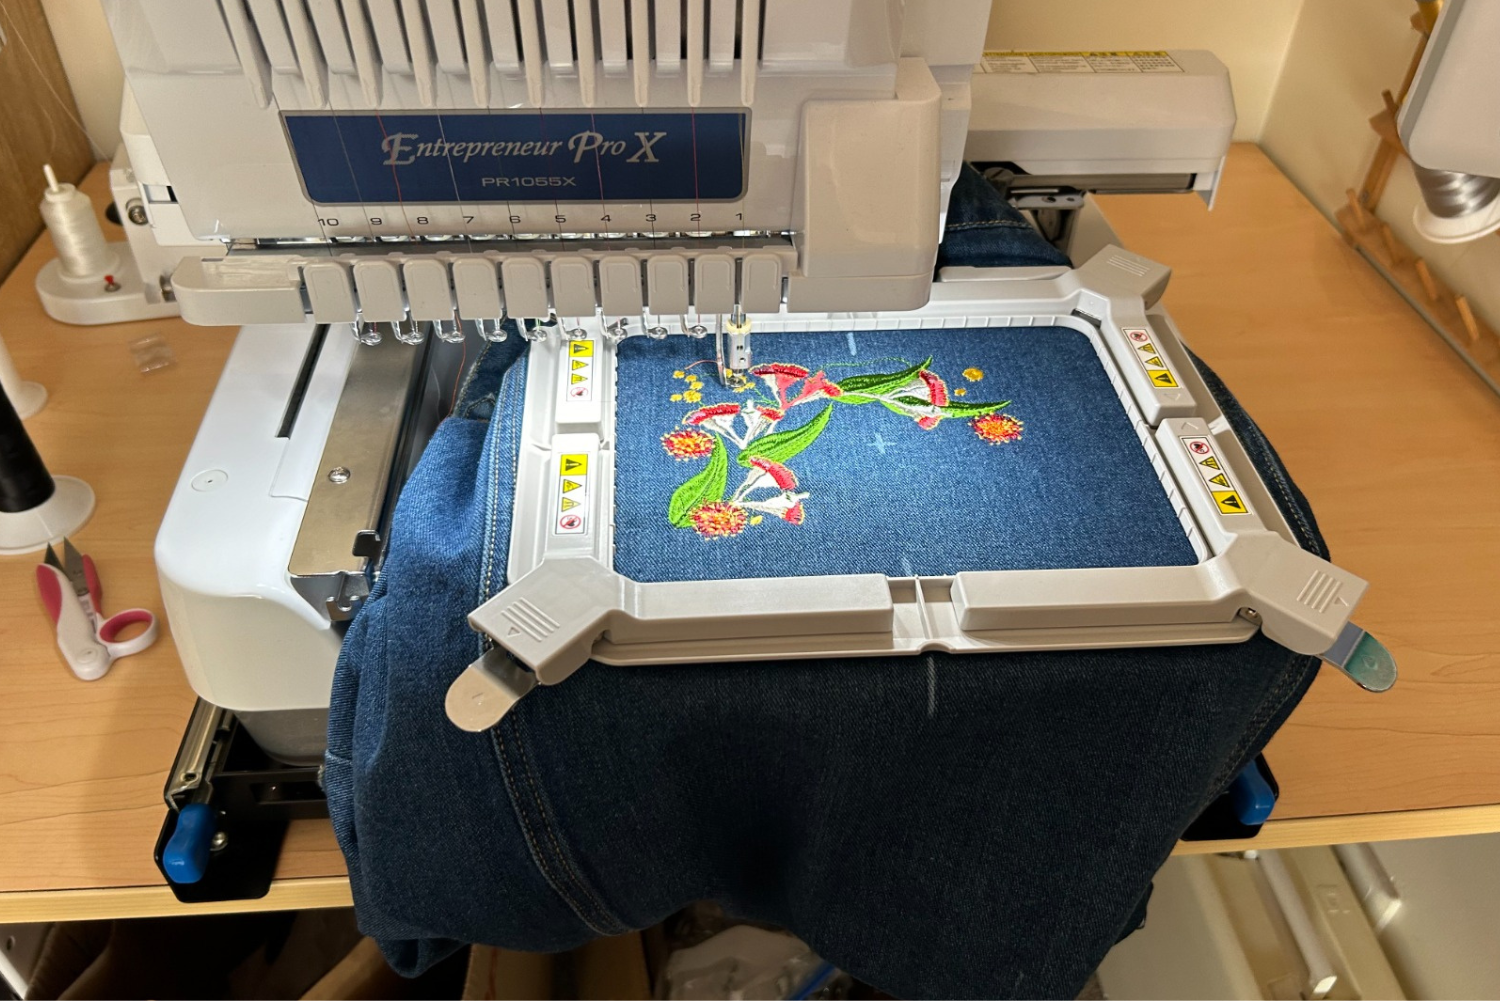
Hoop your stabilizer and base fabric together — never float the stabilizer separately underneath. Keep the fabric grain straight in the hoop because misaligned grain causes the finished design to look twisted even when the stitching itself is fine. Tension should be firm and even across the whole hoop — not so tight that the fabric distorts, but tight enough that nothing moves during stitching. For delicate fabrics, place a layer of tissue paper between the fabric and the hoop to prevent hoop marks.
-
How to Position the Design Correctly on Your Base Fabric
Use your machine’s basting or trace function to mark where the design will sit before any stitching starts. If your machine doesn’t have that function, trace the placement outline onto the fabric with a water-soluble marker. Taking five minutes to check placement before you start saves thirty minutes of unpicking later — and unpicking applique is not a pleasant experience.
Step Two — Stitching the Placement Line of Modern Applique Embroidery Designs
-
What the Placement Stitch Does in Modern Applique Embroidery Designs
The placement stitch is the first thing your machine stitches — it outlines exactly where the applique fabric needs to go. Don’t skip past it or treat it as unimportant. It’s your reference line, and if your applique fabric isn’t placed accurately over it, everything that follows will be off. Most modern applique embroidery designs use a running stitch or basting line for placement — it stitches quickly and gives you a clear outline to work with.
-
How to Stop the Machine at the Right Point During Modern Applique Embroidery Designs
Most modern applique embroidery designs are set up to stop automatically at each colour change. If yours doesn’t, set the machine to pause at colour stops before you begin — this is usually in the settings menu. Never let the machine continue past a colour stop without doing what that stop is asking you to do. Missing a stop and letting the machine continue usually means unpicking everything and starting again.
Step Three — Placing the Applique Fabric on Modern Applique Embroidery Designs
-
How to Cut Applique Fabric for Modern Applique Embroidery Designs
Cut your applique fabric slightly larger than the placement stitch outline — about 6 to 10mm extra on all sides gives you enough coverage without too much excess to trim later. For raw edge modern applique embroidery designs, rough cutting is fine because the edge will be covered or left deliberately exposed. For satin stitch designs, cleaner cutting makes the trimming step after the tackdown much easier. Small sharp scissors make a real difference here — large craft scissors are harder to control around curved design shapes.
-
How to Secure Applique Fabric Before Stitching Modern Applique Embroidery Designs
Temporary spray adhesive is the most reliable method for most people — spray a light coat on the back of the applique fabric, let it become slightly tacky, then press it down over the placement stitch line. Fusible web is another option — iron it onto the back of the applique fabric before cutting, then iron the fabric onto the base after the placement stitch completes. Both methods work well. What doesn’t work well is just placing the fabric loosely and hoping the tackdown catches it — it usually doesn’t, and shifted applique is the result.
Step Four — Stitching the Tackdown of Modern Applique Embroidery Designs
-
What the Tackdown Stitch Does in Modern Applique Embroidery Designs
The tackdown stitch is what locks the applique fabric to the base fabric before the final edge finish. It stitches through both layers and holds the applique piece firmly in place. A clean, solid tackdown is the difference between a smooth finished design and one with bubbled, shifted edges. After the tackdown completes, check that the applique fabric is flat and fully covered by the stitch before moving on.
-
How to Trim Applique Fabric After the Tackdown Stitch
Once the tackdown is done, trim the excess applique fabric as close to the tackdown stitch line as possible. This is the step most beginners rush — and rushing it shows in the finished design. Leaving too much fabric beyond the trim line means the satin stitch has to cover more bulk, which often results in uneven coverage. Cutting too close risks cutting the tackdown stitches themselves. Small curved applique scissors make this step significantly easier and give you more control around tight curves and corners.
Step Five — Finishing the Edges of Modern Applique Embroidery Designs
-
How the Satin Stitch Border Works on Modern Applique Embroidery Designs
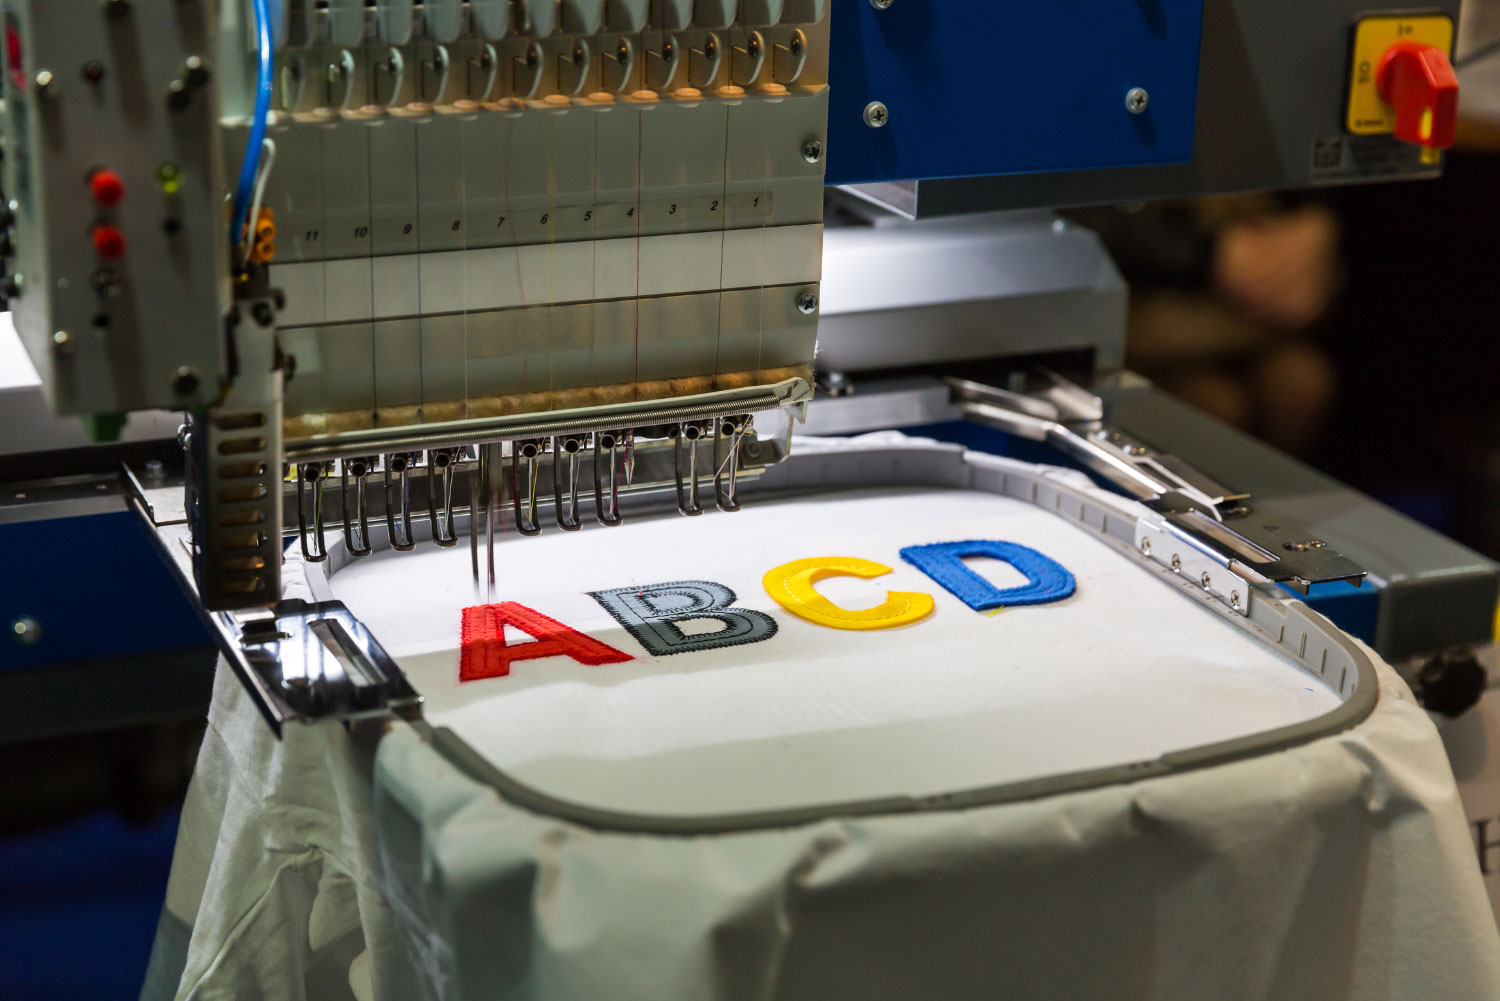
The satin stitch is the final colour stop in most modern applique embroidery designs — it covers the trimmed raw edge of the applique fabric with dense zigzag stitching and gives the design its finished look. Satin stitch quality depends heavily on correct stabilizer choice and thread tension. If the stitch is gapping or uneven, it almost always comes back to one of those two things. After the satin stitch completes, check that no raw edge is showing and that the coverage is even all the way around the design.
-
Raw Edge Finish vs Satin Stitch — Which Looks Better for Modern Applique Embroidery Designs?
Raw edge finish leaves the fabric edge deliberately exposed — it gives a relaxed, textured contemporary look that works well on quilts, wall hangings, and casual projects. Satin stitch covers the edge completely for a clean, polished result that’s better for clothing, bags, and anything that will be washed regularly. Modern applique embroidery designs are digitised specifically for one finish or the other — they don’t usually swap across cleanly, so check which type you’ve downloaded before you start.
-
How to Fix Gapping or Uneven Satin Stitch on Modern Applique Embroidery Designs
Gapping in the satin stitch almost always means the stabilizer was too light for the fabric weight — the fabric moved slightly during stitching and the stitch pulled apart. Uneven coverage usually comes from incorrect thread tension. Adjust the upper thread tension slightly looser if the satin stitch looks pulled tight, and slightly tighter if it looks loose and loopy. Always test on a scrap piece with the same fabric and stabilizer combination before stitching on the actual project.
Step Six — Removing the Hoop and Finishing Modern Applique Embroidery Designs
-
How to Remove the Hoop Safely After Completing Modern Applique Embroidery Designs
Before you remove the project, loosen the hoop screw, as you cannot pull it while it is still under tension. Be gentle when you are taking off the tear-away stabilizer because tearing it quickly may rip your stitching and ruin the design around the edges. When cutting away the stabilizer, cut close to the stitching, but don’t cut the stitching itself. The wash-away stabilizer has to be washed according to the manufacturer’s directions — in cold water or in a warm sink.
-
How to Press and Finish Modern Applique Embroidery Designs After Stitching
Always press from the reverse side — pressing directly on the applique surface can flatten the satin stitch and distort the fabric. Use a pressing cloth between the iron and the fabric. Steam helps settle the stitching and smooth out any minor puckering that showed up during the project. Once pressed, check the design from the front — a well-finished modern applique embroidery design should have clean even edges, flat fabric, and consistent satin stitch coverage with no raw edge visible.
Common Mistakes to Avoid With Modern Applique Embroidery Designs
-
Why Modern Applique Embroidery Designs Shift or Move During Stitching
Fabric shifts during stitching almost always come down to three things — insufficient stabilizer, fabric not secured properly before the tackdown, or hoop tension too loose. Check all three before you start rather than troubleshooting after the fabric has already moved.
-
Why Modern Applique Embroidery Designs Pucker After Stitching
Puckering usually means the stabilizer was too light for the fabric and thread density combination. It can also come from incorrect thread tension or from a satin stitch that’s too dense for the fabric weight. Test on a scrap piece first — this is the one habit that prevents most puckering problems before they happen on the real project.
-
How to Avoid Fraying Edges on Modern Applique Embroidery Designs
Pre-treat applique fabric edges with a small amount of fray check before placing them in the design. Fusible web applied to the back of the applique fabric before cutting also helps prevent fraying during and after stitching. Choose tightly woven fabrics for applique wherever possible — loosely woven fabrics fray more aggressively and are harder to control during trimming.
Tips for Getting Better Results With Modern Applique Embroidery Designs
-
How to Test Modern Applique Embroidery Designs Before Stitching on Your Final Project
Always do a complete test stitch on the same fabric and stabilizer combination before using your actual project materials. Check placement accuracy, tackdown coverage, trimming ease, and satin stitch quality on the test piece. Adjust anything that looks off before moving to the real project. One test stitch takes fifteen minutes. Fixing a failed project on expensive fabric takes much longer — and sometimes it can’t be fixed at all.
-
How to Choose the Right Thread for Modern Applique Embroidery Designs
40 weight thread is the standard for most modern applique embroidery designs — it gives good satin stitch coverage without being so heavy that it distorts the fabric. Polyester thread holds up better on items that will be washed regularly. Rayon gives a slightly shinier finish that works well on decorative pieces that won’t see heavy wear. Thread quality matters too — cheap thread breaks more often and stitches unevenly, which shows up most obviously in satin stitch borders.
-
How to Store and Organise Files for Modern Applique Embroidery Designs
Keep downloaded design files organised in folders by project type and machine format. Back up your original files separately from the copies you use on your machine. A simple naming convention — design name, format, date downloaded — makes finding files faster when you’re mid-project and don’t want to search through hundreds of files to find the right one.
Frequently Asked Questions
-
Do I need special software to use modern applique embroidery designs?
You need a machine or software that can read the design file format — PES, JEF, VP3, or DST depending on your machine. Basic viewing software is free and helpful for understanding the colour stop sequence before you start. The use of editing software is optional but may be necessary for resizing and changing designs prior to sewing.
-
Can I use modern applique embroidery designs on any fabric?
Most stable woven fabrics work well — cotton and felt are the easiest starting points for beginners. Stretchy, slippery, or very lightweight fabrics need extra stabilizer and more careful hooping. Always test on a scrap of the same fabric before using your actual project material.
-
How long does it take to stitch a modern applique embroidery design?
A simple single-fabric design might take 15 to 20 minutes. A layered design with multiple fabrics and dense satin stitch borders can take an hour or more. Stitch count in the design file gives you the best indication of how long a specific design will take on your machine.
-
Why does my applique fabric keep shifting during stitching?
The most common causes are insufficient stabilizer, fabric not secured properly with spray adhesive or fusible web before the tackdown, or hoop tension too loose. Address all three before starting rather than waiting to see if shifting happens during stitching.
-
Can I use modern applique embroidery designs on clothing?
Yes — use cut-away stabilizer for knit fabrics and tear-away for woven fabrics. Pre-wash the garment before stitching to prevent shrinkage after the design is complete. A topping layer over textured or pile fabrics helps the placement and tackdown stitches register accurately.
-
What is the difference between raw edge and satin stitch applique?
Raw edge leaves the fabric edge deliberately exposed for a casual textured look. Satin stitch covers the edge completely for a clean polished finish. Modern applique embroidery designs are digitised for one finish or the other — check which type you have before starting because the process differs between them.
Final Thoughts on Applying Modern Applique Embroidery Designs Step by Step
The process is simpler than it looks from the outside — placement stitch, place fabric, tackdown, trim, satin stitch, finish. That’s the whole sequence. What makes the difference between a frustrating first attempt and a clean finished result is understanding why each step happens and what to check before moving to the next one.
The first project with modern applique embroidery designs takes the longest because you’re learning the sequence as you go. By the third or fourth project, most of it becomes automatic — and that’s when applique starts being genuinely enjoyable rather than stressful. So contact the experts such as 10 Thread Embroidery today to bring your vision to life.